Setting up a new Proxmox host
- linux
- homelab
- website
- learning
The beginning
Welcome to my new blog! I plan to build out my new website, expand my selection of hosted services, and document the learning process along the way. I’ve dabbled with Linux and some servers in the past, but I’ve never really committed to it until now.
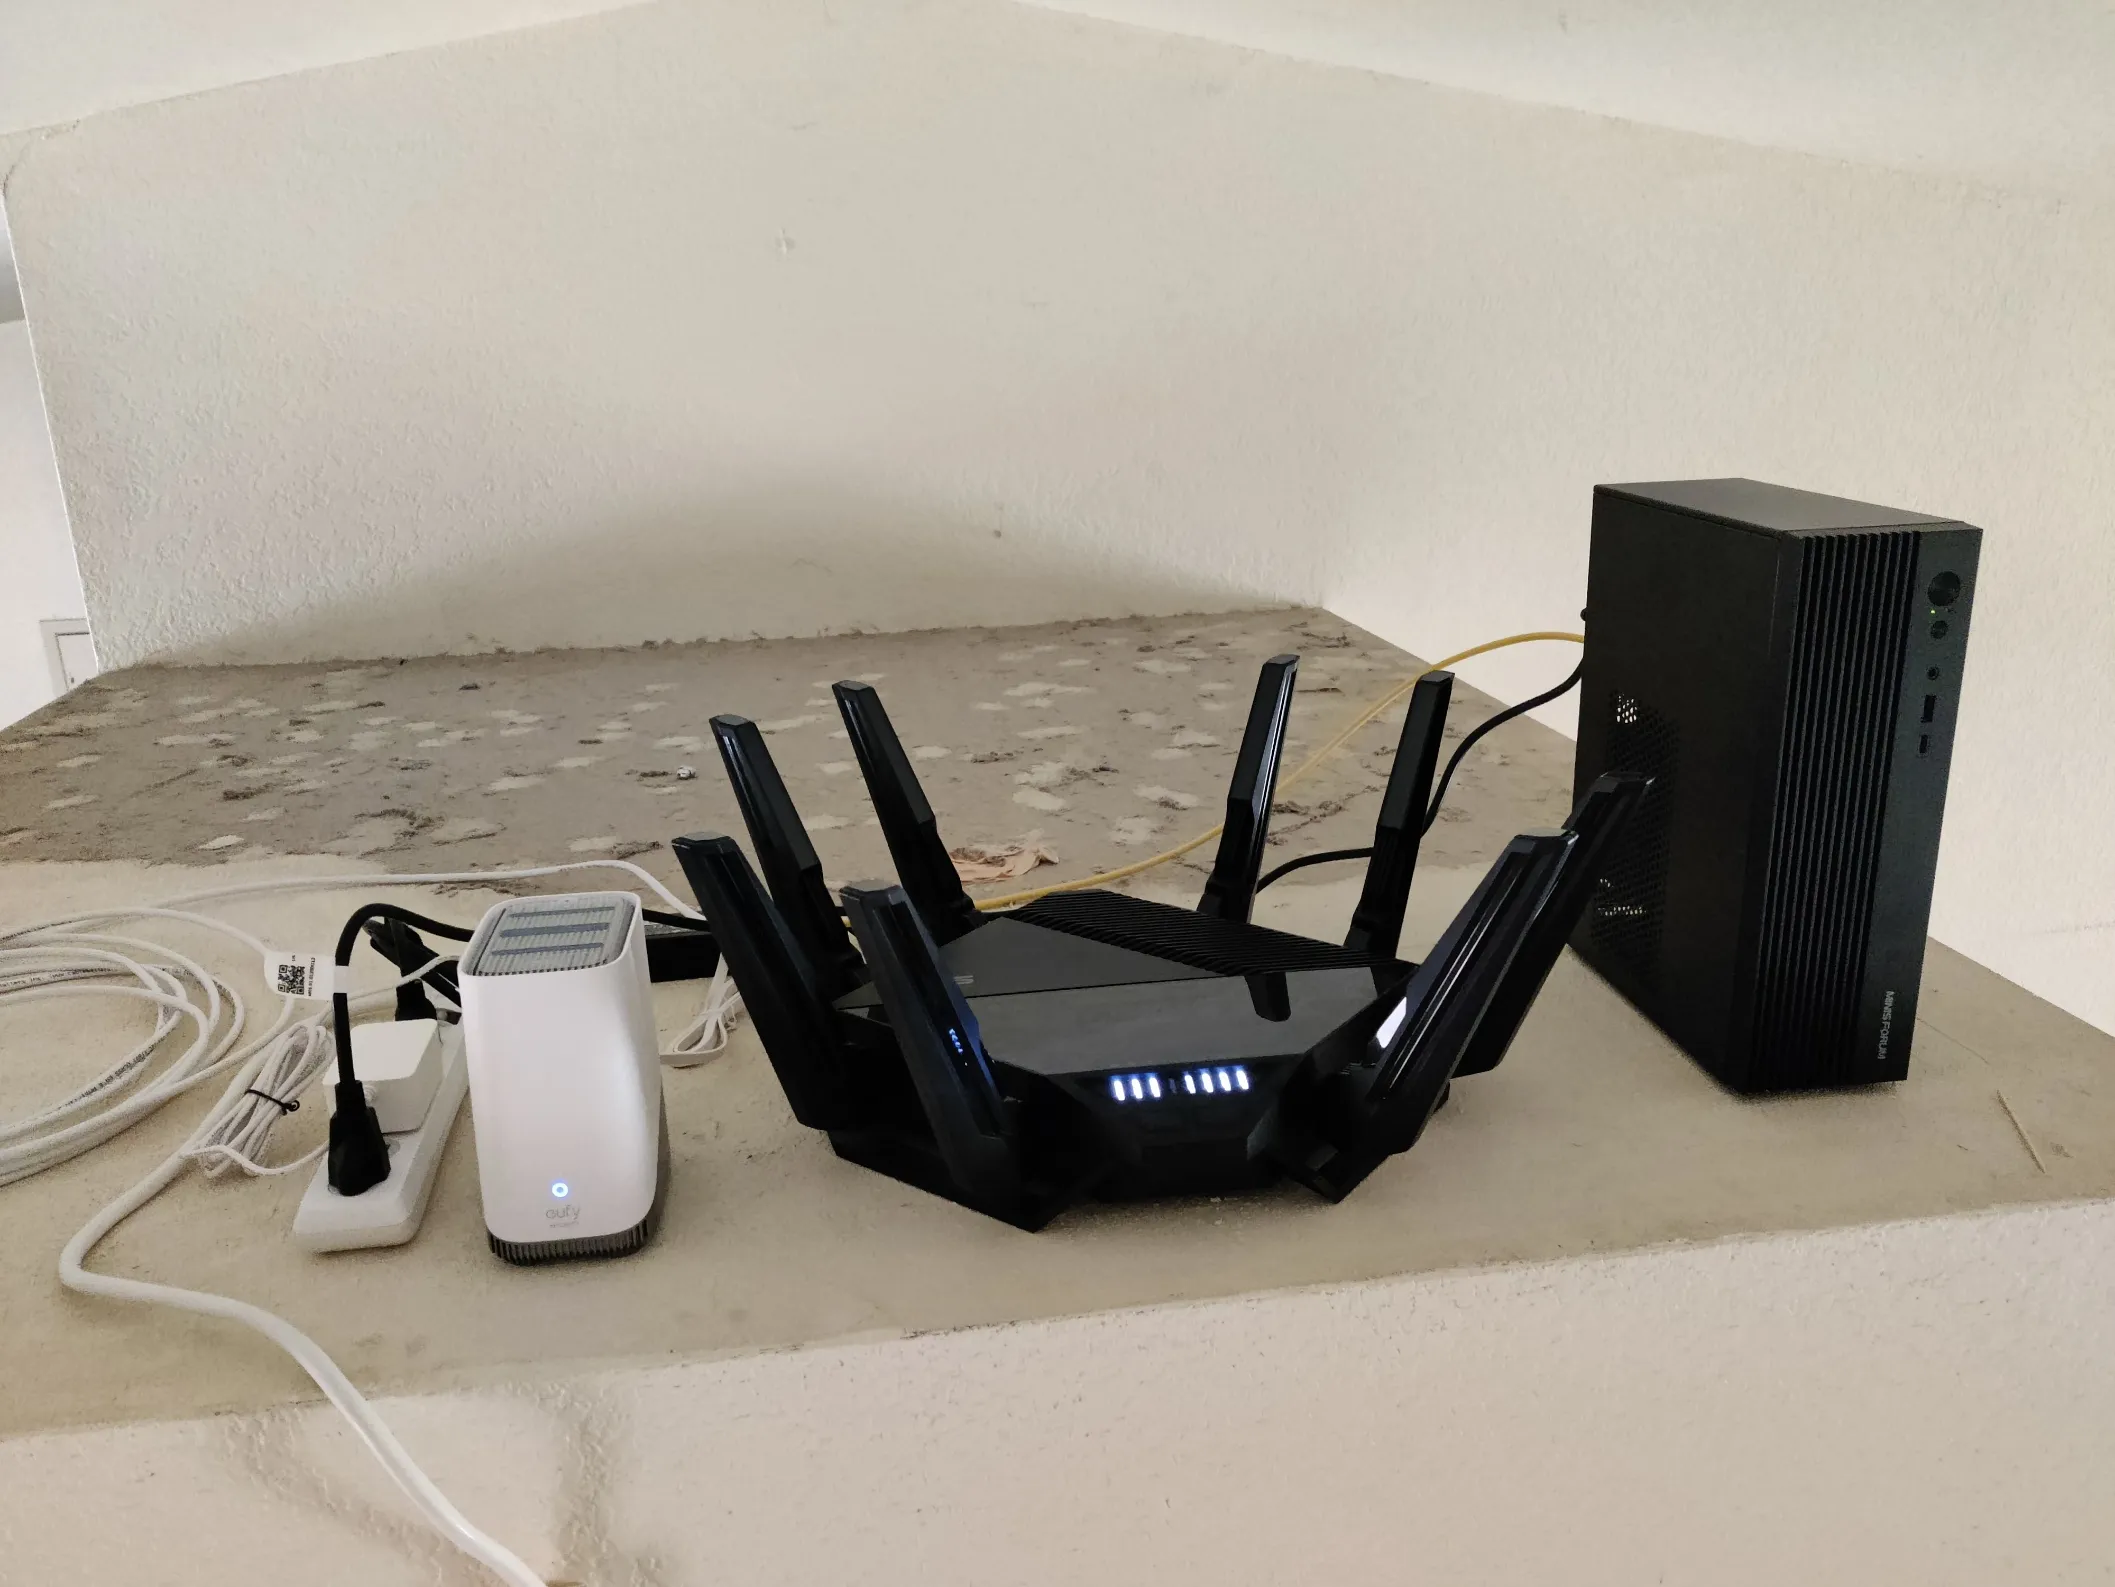
I managed to pick up a new mini PC (the Minisforum 790S7, pictured alongside a new router) right as RAM prices were going to shit, and promptly got to installing Proxmox. First order of the day: set up monitoring and management so I can leave the box headless next to my router. Proxmox comes with its own default dashboard, but I noticed that it didn’t display particularly detailed hardware specs, per-VM/LXC usage statistics in one centralized display, or CPU temps, and that last one was a priority - I knew that the particular CPU the PC came with gets toasty, so…
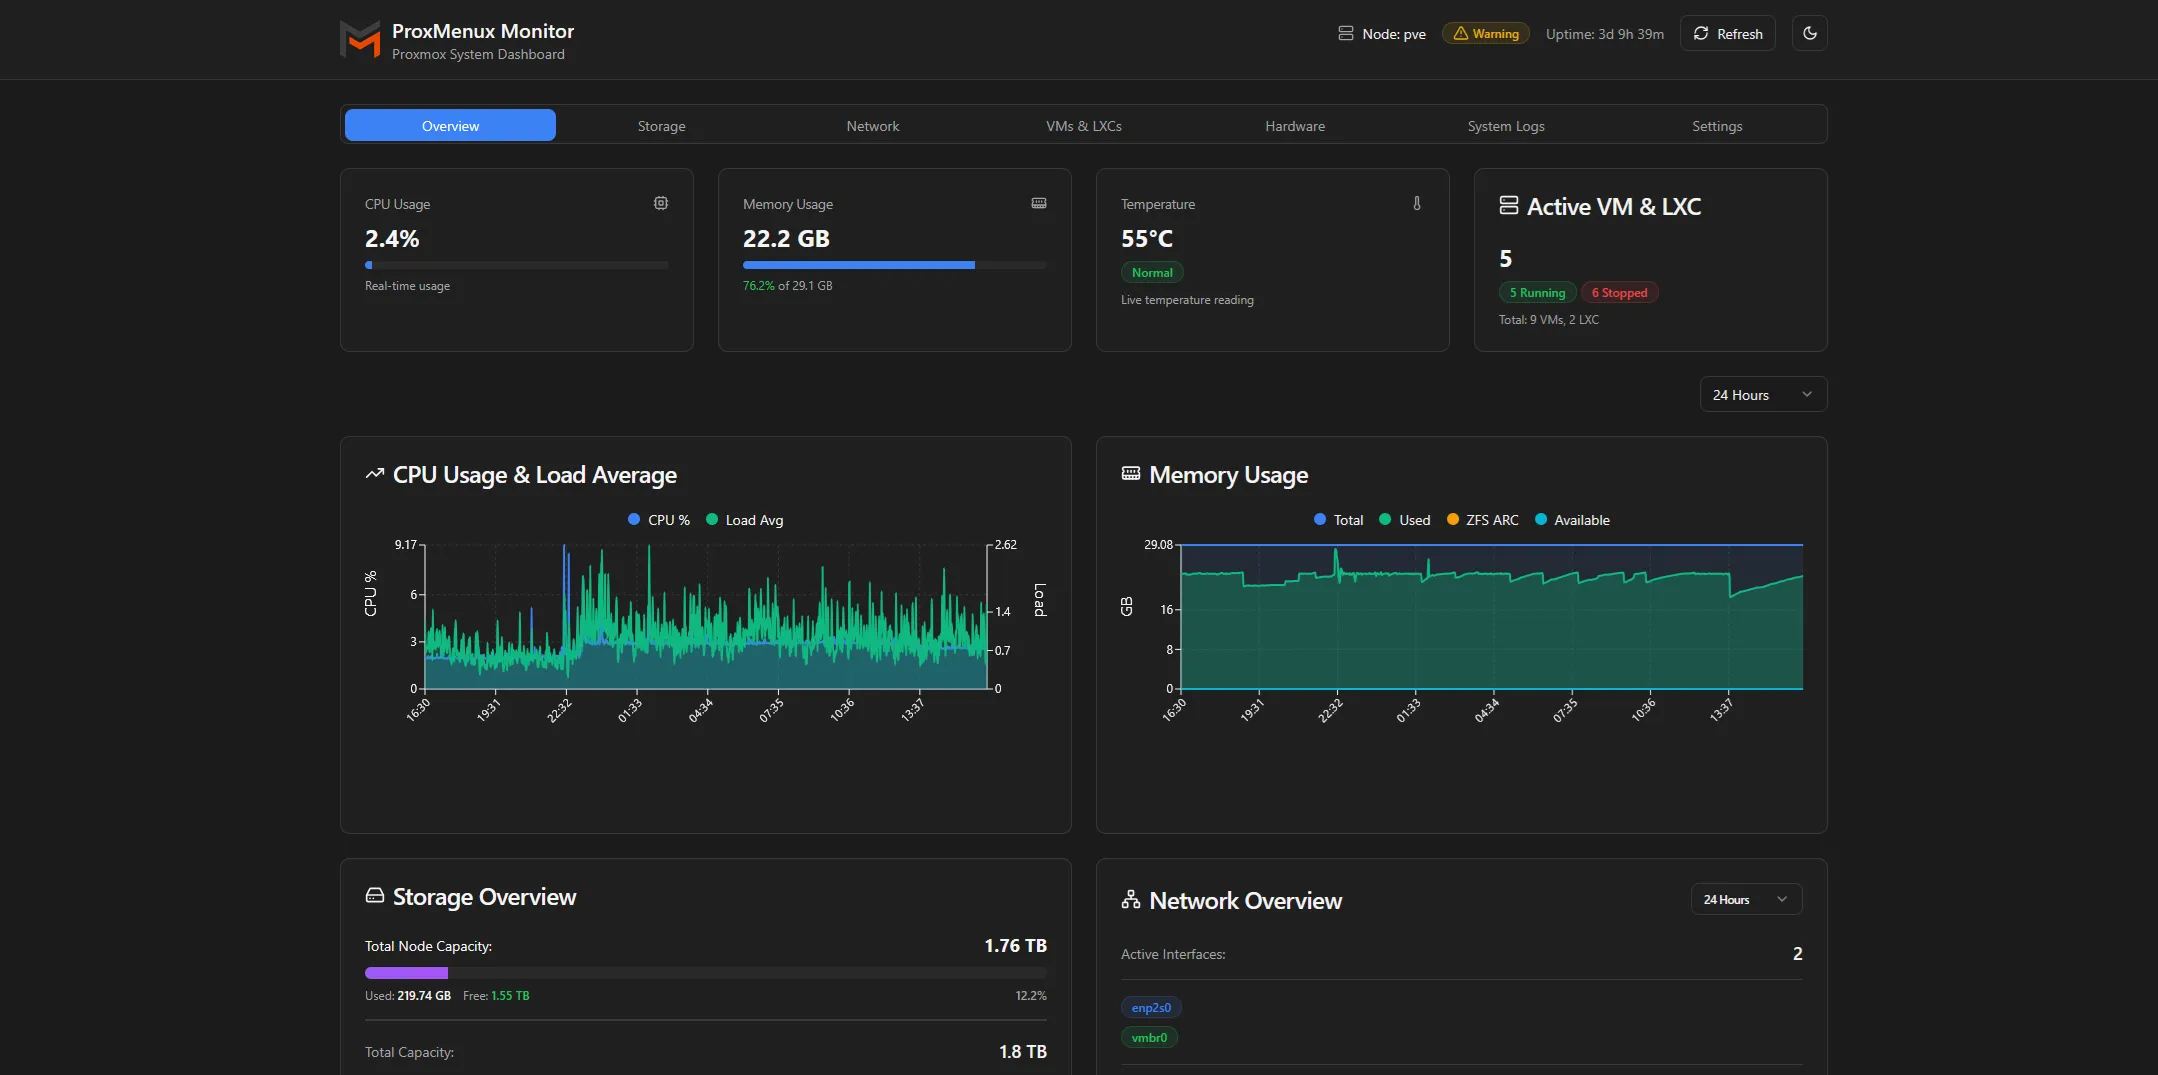
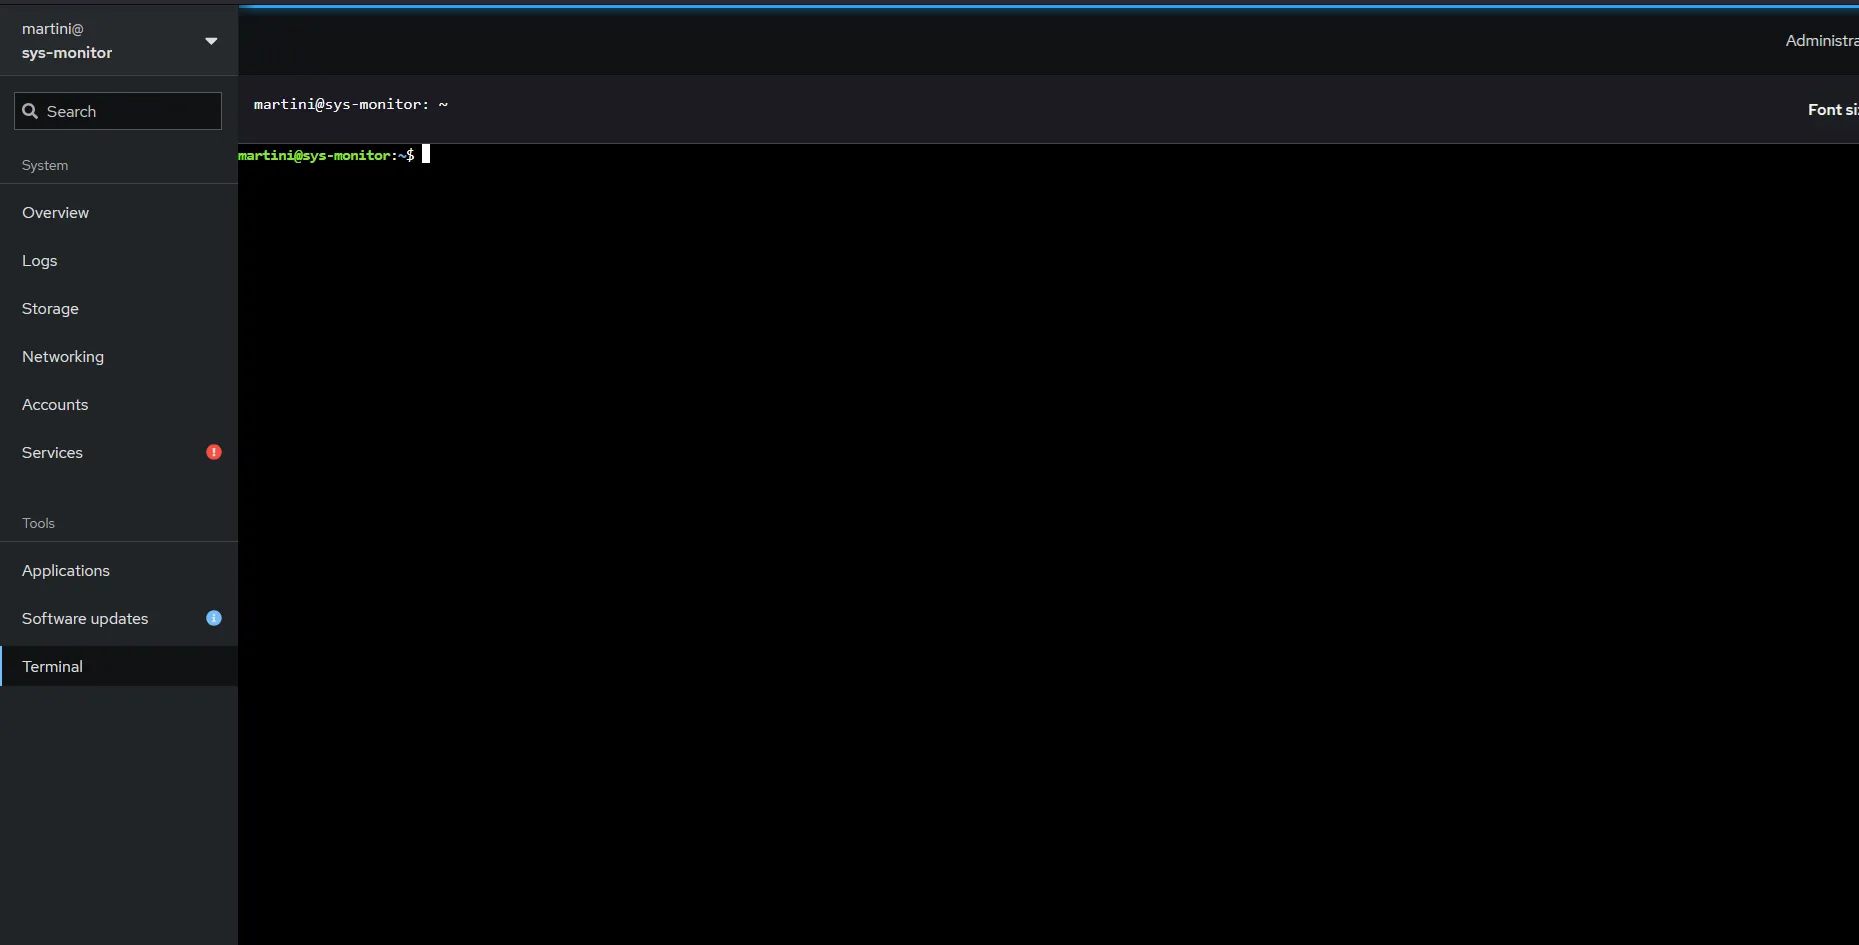
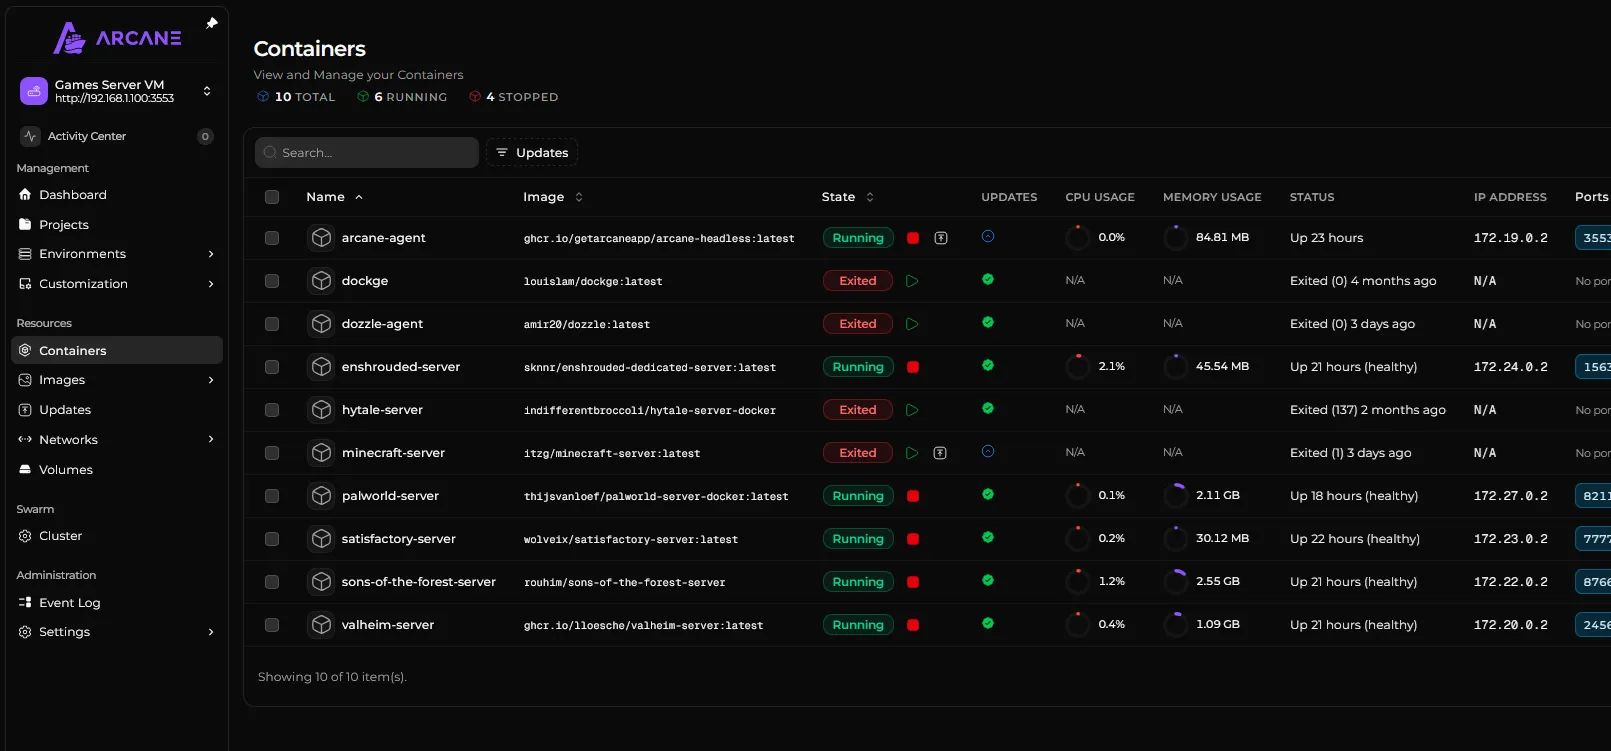
I found and installed ProxMenux for monitoring. I then set up my first virtual machine for system monitoring. There, I installed Cockpit and created an ssh key pair, and installed Portainer as well. It worked fine, but I was in an experimenting mood and decided to try Komodo instead. That ended up being a disaster. I never quite figured out what went wrong, but best I could tell, installing a Komodo container within a VM set up to use ‘host’ CPU emulation would freeze the entire server and send it into a boot loop on restart. Instead of going back to portainer, I decided to test out Dockge, and eventually settled on Arcane.
Time for some games
With that in place, I wanted to get some game servers up and running, test the hardware. Docker Compose seemed the best
option, deployment and configuration was a breeze. Create another new VM for hosting games. Update, install Cockpit and
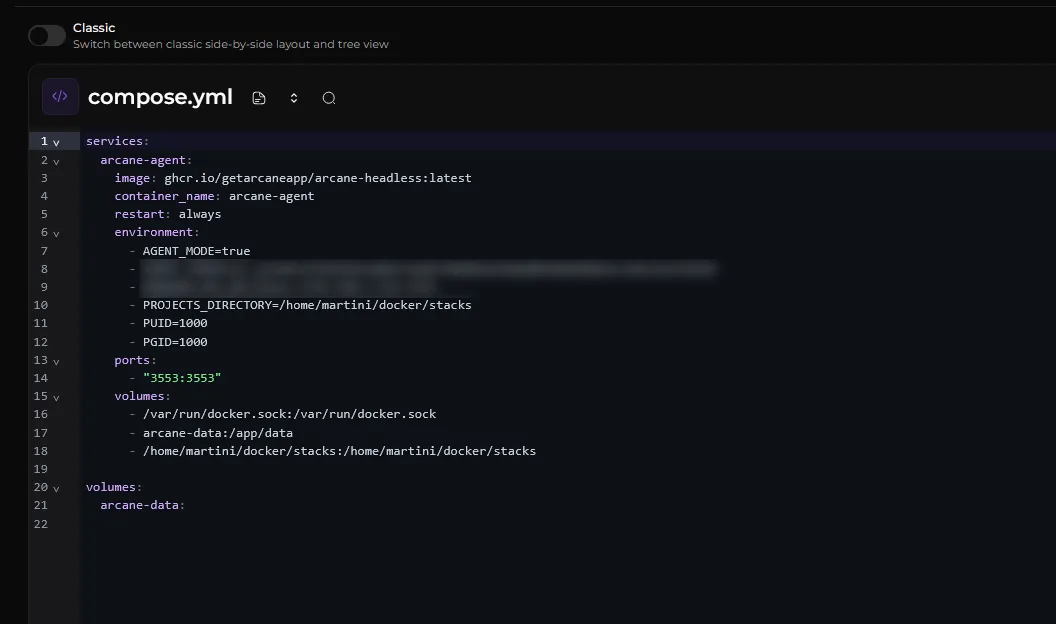
Docker/Compose, and create a new arcane-agent/compose.yml (I place compose files at ~/docker/stacks/). Either use Arcane/
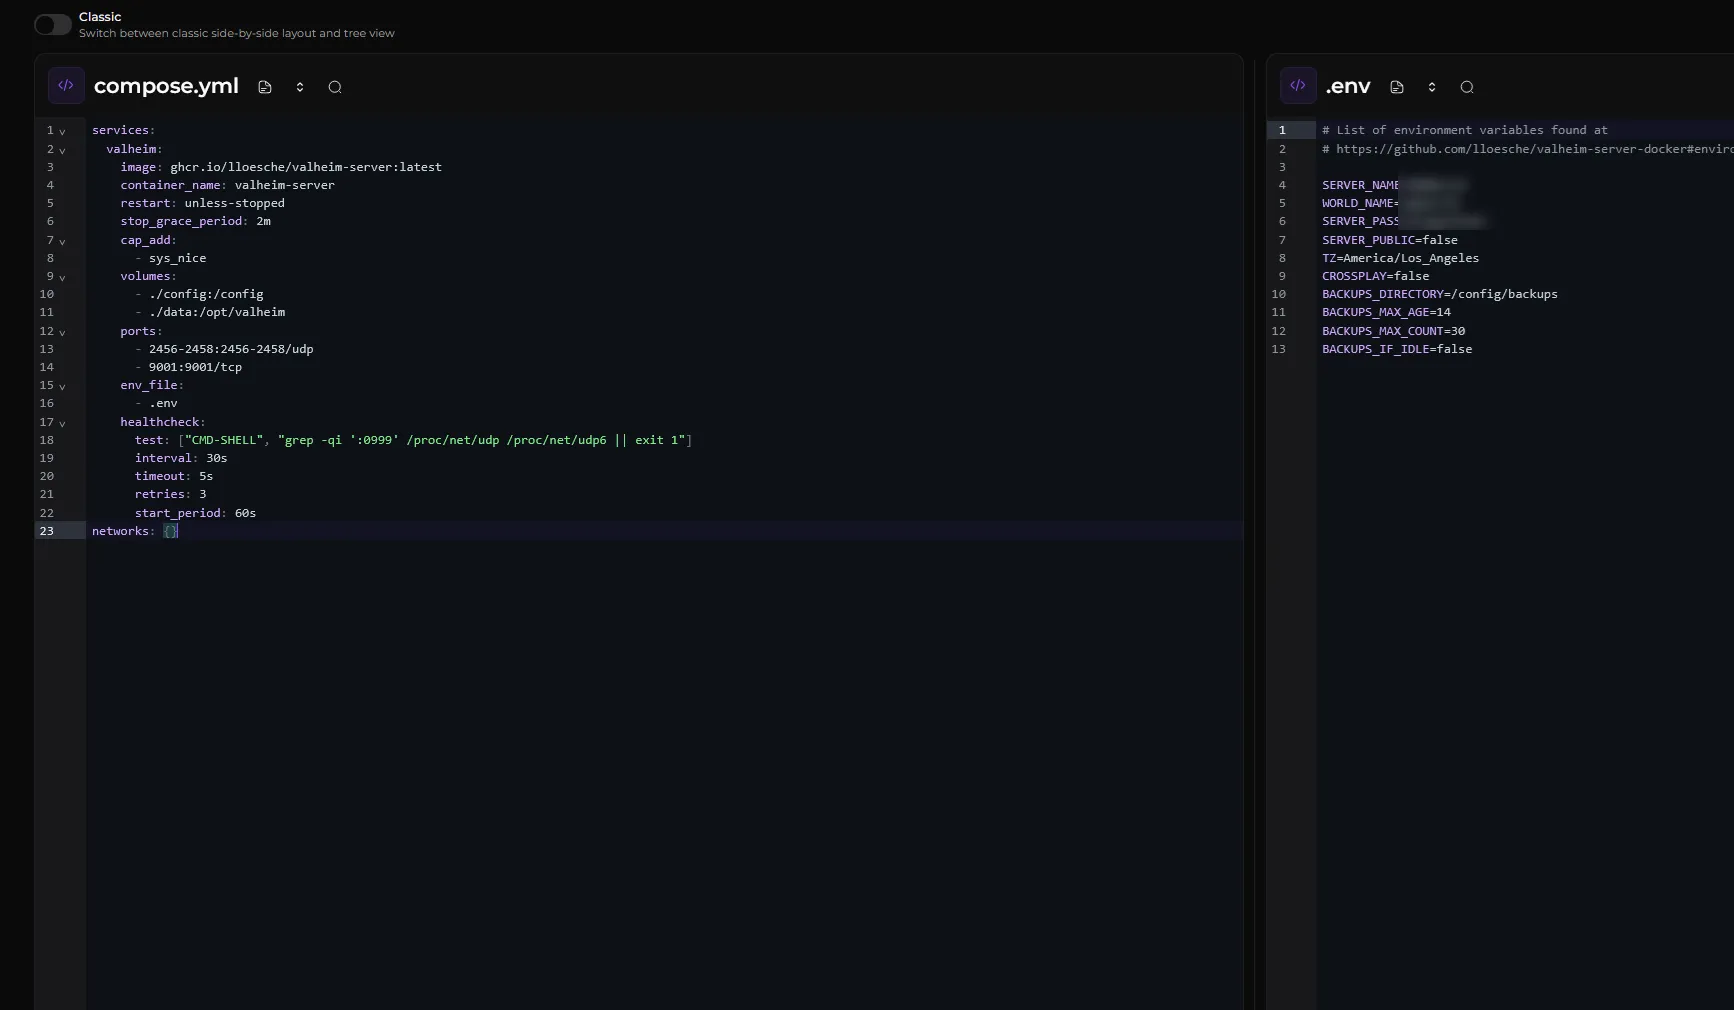
Portainer/etc or just SSH in, create the compose.yml and .env files for any game server you want, “sudo docker compose up -d”
and boom, usually a working instance within 3 minutes. Configure port/auth settings, game configurations, and anything else
the particular containers support, make sure to forward the correct external ports within the network (router, Proxmox
firewall, etc), and that’s it.
Expansion
Adding anything new is just that on repeat, in most cases. Set up new VMs using the Proxmox web dashboard (I use
ubuntu-server), apt update/upgrade and apt install cockpit. From there, leave the Proxmox console and either SSH in or
use the Cockpit terminal and install docker engine and compose
(not docker desktop), ssh-copy-id the ssh identity from the primary Cockpit VM to the new VM (so all Cockpit dashboards
can be seen together), and add a new host in the Cockpit dashboard.
Any new apps/services can now be set up and managed through a new Arcane project, as long as a Docker container exists for it (I’ve yet to find something not compatible). Some compose examples:
What I’ve accomplished
-
Install and set up Proxmox: I acquired new server hardware, installed the latest version of Proxmox, and got to work creating various VMs.
-
Host game servers: Using docker primarily, I’ve installed several new containers, along with the ability to easily view and manage them remotely.
-
Create a new website: This is my first blog post! Using Astro and Tailwind CSS, I’ll work on adding content to this site to document the experience and show off a number of projects (mostly gamedev, some AI/machine learning).
What’s next
Make sure everything is backed up properly so I can start… “tinkering”. I’ll post here about managing game servers and settings, upkeeping a linux-based server/“homelab”, developing a new website, and working on hobby game projects in Godot. Watch this space for more to come!